


It’s that time of the year where little artists are picking out new markers and crayons in prep for the next school year. When their masterpieces come home from school, where do you display them? We like to use magnets to display ours. Here is a fun way to design your own magnets!
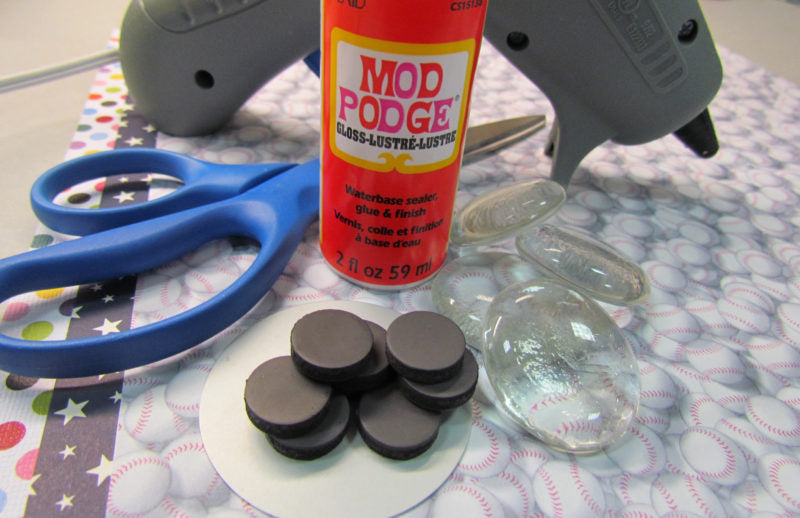
What you’ll need:
- Pencil
- Scissors
- Clear Flat Marbles
- Colorful Paper
- Mod Podge (or clear school glue)
- Paint Brush
- Magnets
- Glue Gun
- Googly Eyes (optional)
Trace around one of the marbles on your paper and then cut it out.
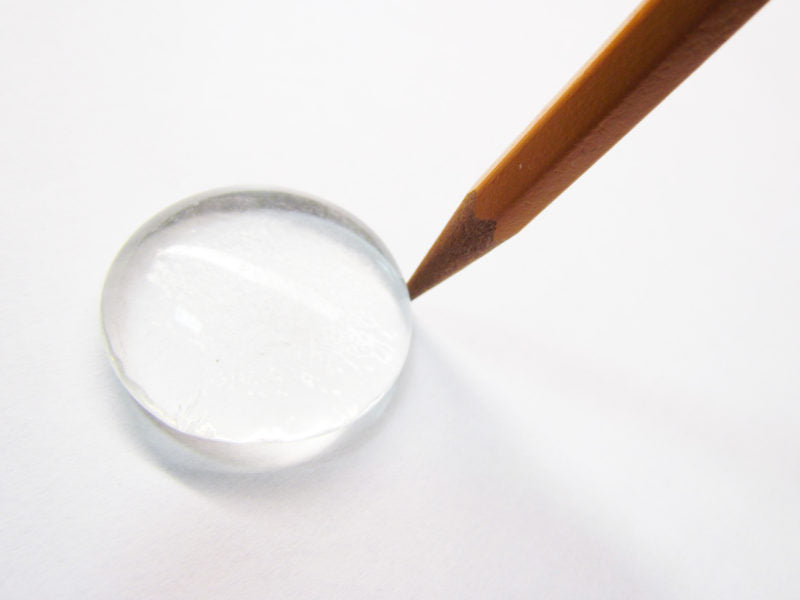
Next, apply a small amount of Mod Podge or clear glue to the flat side of your marble.
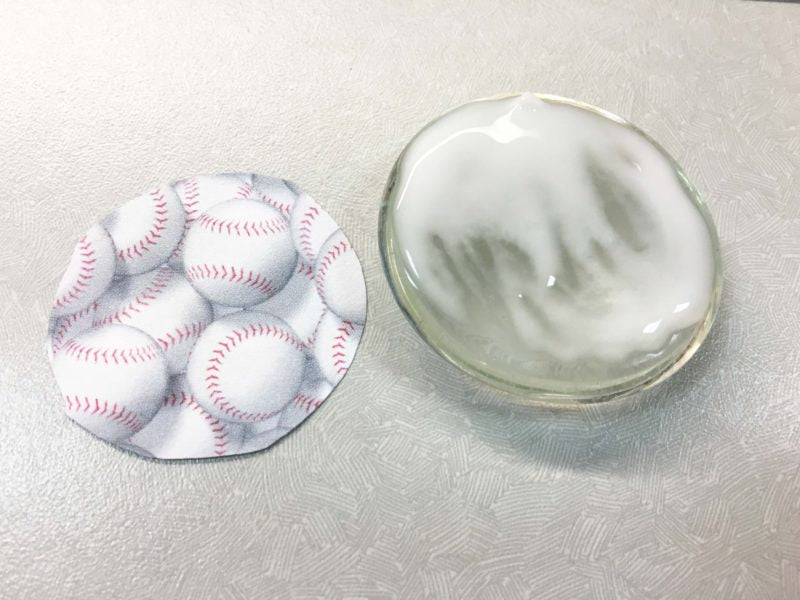
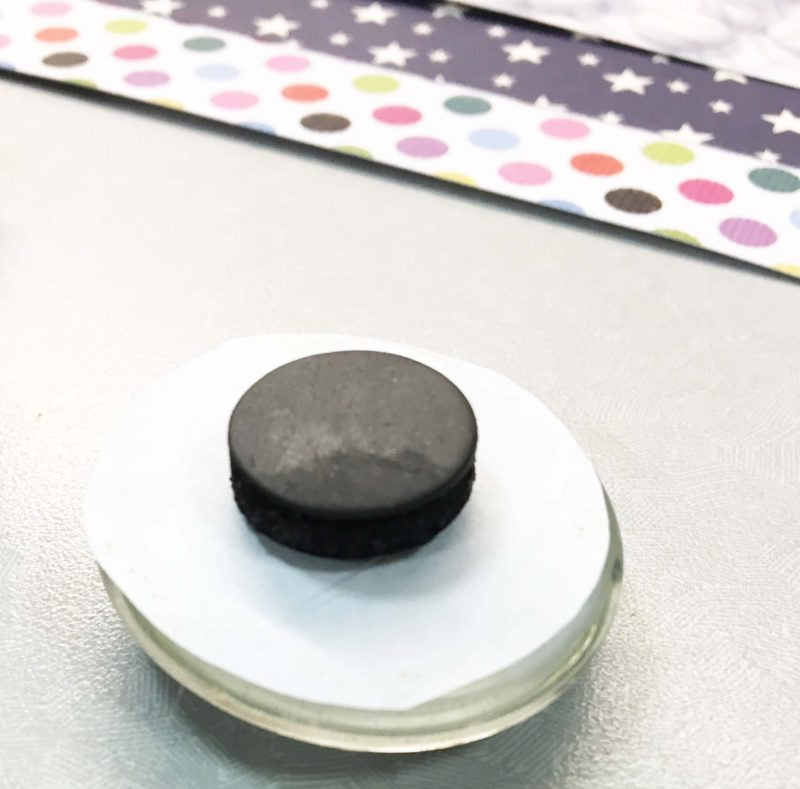
Gently press the paper onto the back of the marble. Use your hot glue gun to attach a magnet to the back of the paper.
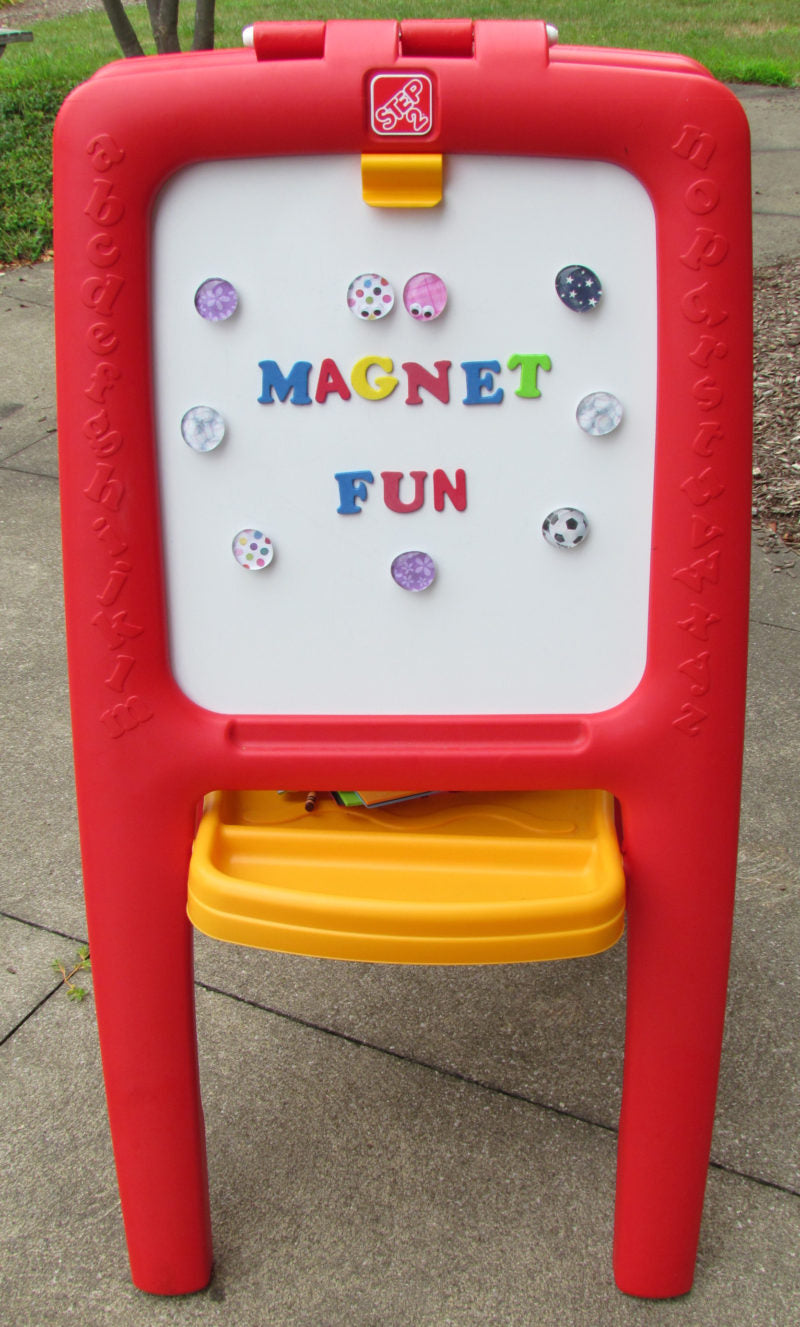
After the glue dries, hang the works of art!
To add to the fun, you could add googly eyes to your magnets. Or, instead of using decorative paper, try using a photo of your child!
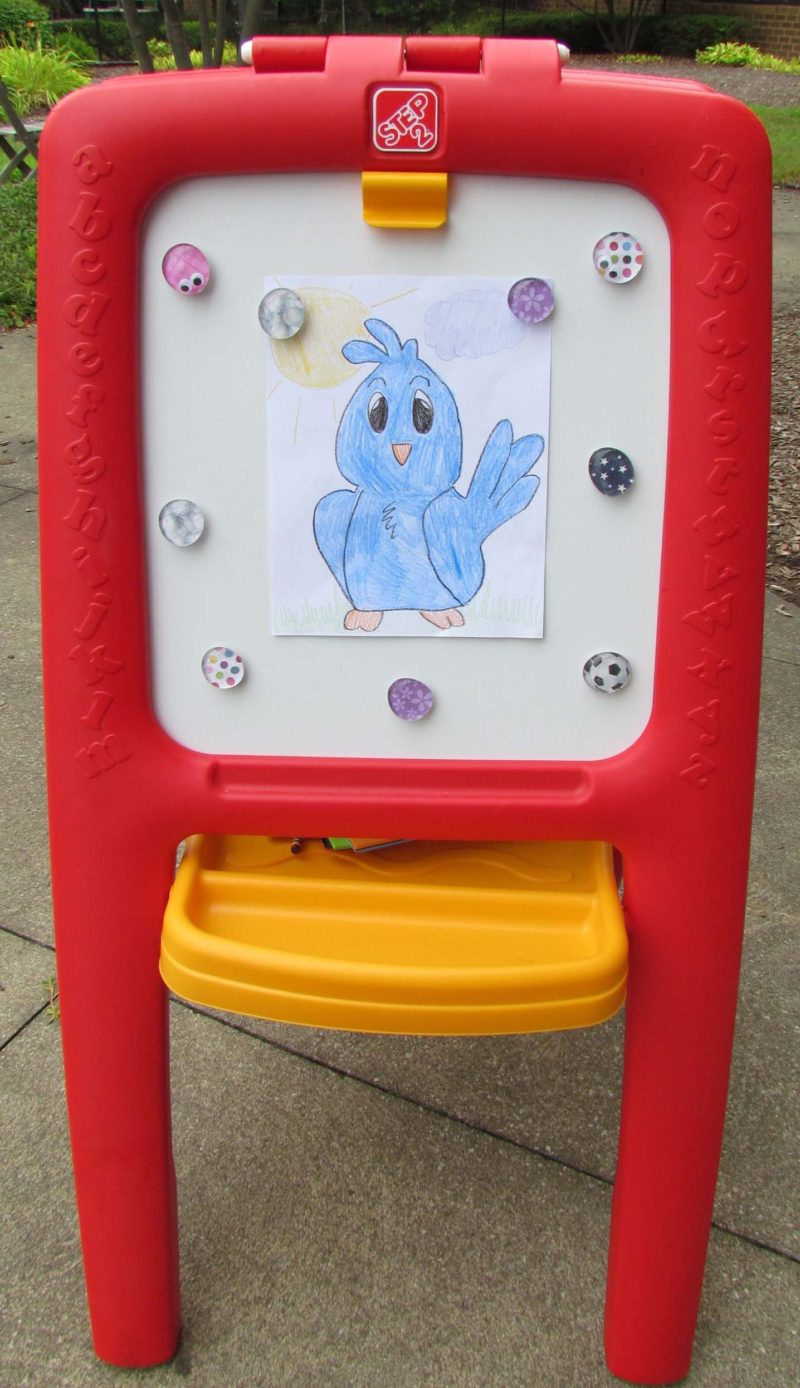
We displayed our artwork on the Easel for Two, one of our best easels for kids. Where do you display your child’s artwork?
Manufacturer’s Note: These craft is intended to be completed by an adult. Please make sure children are the recommended age to play with the product featured in this blog post. Adult supervision is required.