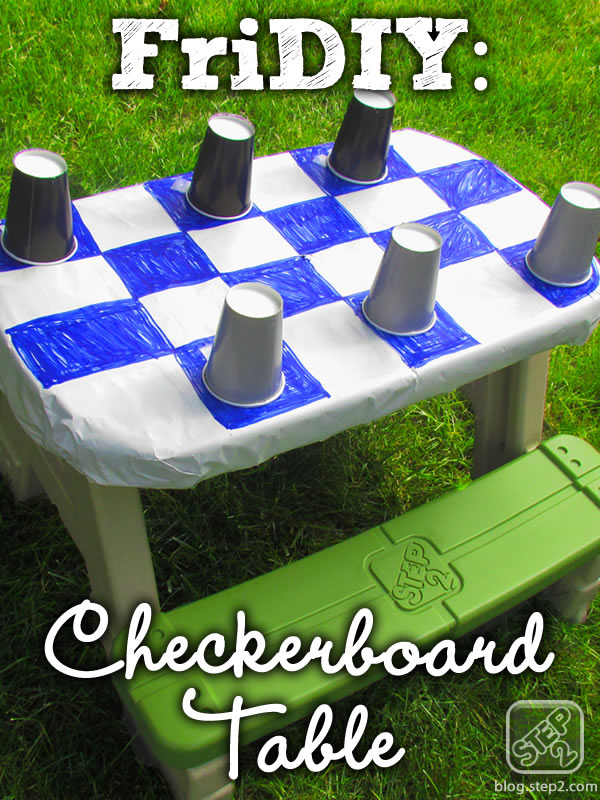


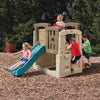
This month, we’re challenging little ones with a DIY gaming table! We’ve created a checkerboard table from a kid’s picnic table. This craft will keep little minds active as they hang out with their playmates. Here’s what you’ll need to get started:
- Kid’s picnic table (we used the Sit & Play Picnic Table)
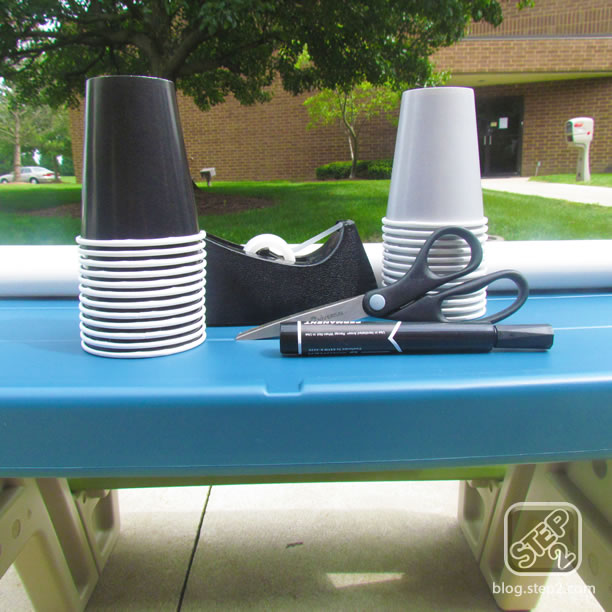
- White wrapping paper or construction paper
- Markers
- Tape
- Scissors
- Ruler or measuring tape
- Plastic or paper cups in two different colors
With these materials you can create a checkerboard table in three easy steps! Plus, this activity table can be used inside on a rainy day or outside to keep your children entertained during a barbeque.
- Measure the width and height of the tabletop, cut the wrapping paper to those dimensions and tape the wrapping paper to the table.
- Use a marker and ruler to draw the squares of the checkerboard (we created a simpler version of checkers with 24 total squares).
- Place three cups on the colored squares closest to the edge of the table on each side of the board. Use different colored cups for each side.
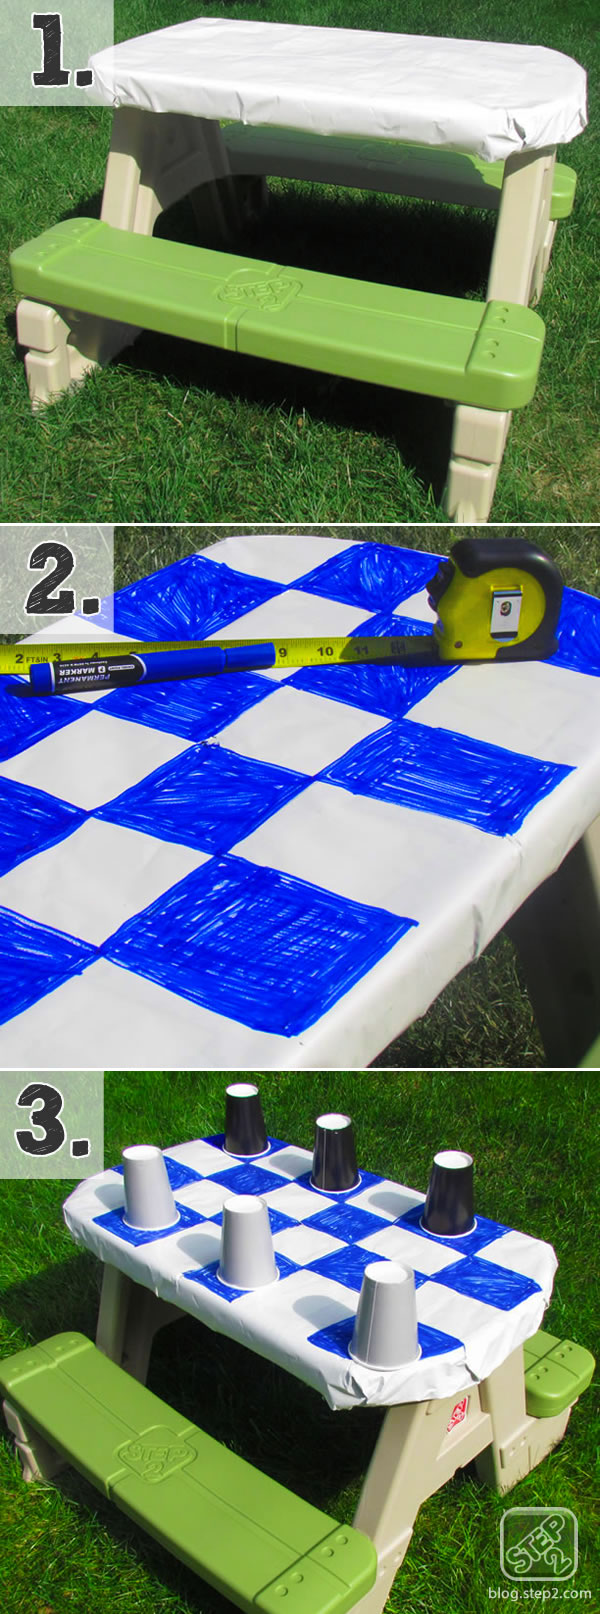
Now your little gamers are ready to play some checkers!