Our parts are meant to have a very tight, secure fit to reduce any pinch points. Please make sure you follow the instruction sheet exactly. We suggest two people for assembly to help with leverage, force, and movement.
If you are having a hard time getting pieces together, we recommend brushing some vegetable oil onto mating parts, as this will allow parts to easily slip and fit together. It may require a considerable amount of downward force to push parts together during assembly. Another trick is to use a blow dryer and heat the plastic to make it more pliable when pushing or forcing parts together.
Step2 Assembly Tips
Discover our best tips and tricks to make product assembly a breeze. Browse around and find pro tips, FAQs and how-to videos.
Search for answers or BROWSE
General Assembly Tips
It’s better for you to create the holes yourself so that every item is guaranteed complete alignment for the best and strongest results.
To minimize risks of small parts posed by drill shavings, the metal screws provided are self-tapping. Please note the pointed metal screws provided will pierce the pliable plastic and form their own threads into the product.
We provide location points for screws, as indicated in the product instructions. To insert the screws into the plastic, simply apply downward pressure with a screwdriver to create a hole.
If you find it necessary or preferable, you have the option of using a small nail and a hammer to create a starter hole in the plastic before installing the screw. Afterward, you can remove the nail and proceed with the screw installation. Alternatively, a power screwdriver or rechargeable drill can be used to assist in installing the screws, but we advise caution, as overdriving the screws may strip the plastic and cause damage.

First, it’s important to pay attention to screw sizes. All screws are actual size on the assembly instructions, so match the screws up to guarantee you’re using the correct size for each step.
Second, starting with the correct size screwdriver is key. Save time up front by taking note of the screwdriver type and head size to ensure you have the right tools on hand.
And third, create a straight line of pressure to drive the screw in at the correct angle. To do so, position the screw where needed and hold it steady. Align the screwdriver with the screw to form a straight line. Keeping your wrist and elbow in a straight line with the screw, apply pressure while turning the screwdriver. Stop when the screw is snug and avoid over-tightening.

T/F - false
Here are our best tips to ensure easy and efficient assembly of your new Step2 products:
When your package arrives...
Open the box as soon as possible to make sure all parts and necessary decals are included.
In the rare occurrence that your item is missing something, please call the Step2 team at 1-800-347-8372 to request a replacement part.
One to two days before assembly...
Take a minute to read over the assembly instructions and familiarize yourself with the process.
You’ll save time in the long run by reviewing all instructions first instead of trying to figure out the next step as you go. It’s also a good idea to review the decal locations to ensure accurate placement before you begin.
The day before assembly...
It’s important to note that the assembly times are estimated per category, and there’s a chance some items may fall out of these estimated times.
Before you begin, refer to the Assembly Time section on your specific product instruction sheet (listed with a stopwatch icon) for a more accurate assembly time frame where applicable.
When you begin assembly...
Review the assembly instructions one more time before you begin. Collect all necessary tools, and find a friend to assist if larger pieces need more stability.
Lay out all the parts with their corresponding illustration on the instruction sheet. Match up the screw sizes, quantities, decals, and other components.

T/F - true
Pro Tips
Fitting Parts Together
Our parts fit tightly together for added strength and durability. If you have trouble getting a secure fit, brush on vegetable oil or dish soap to help them along!
Buddy System
Ask a friend for help, especially on items with a longer assembly time and long or awkward pieces that need to be aligned.
Note Left, Right, Front & Back
When reviewing the included parts, be sure to pay attention to the Left and Right pieces. Set yourself up for success by making sure critical parts like wheels and doors are installed on the correct side!
Screw Sizing
The product’s included screws are the actual size of the assembly sheet. Match them up before you begin to ensure the correct screw sizes for each step.
Lost Instructions
If you ever lose the product manual, each product page on our website contains a PDF download of the assembly instructions for your convenience.
Cap nuts are tough little guys. Make sure the whole piece is completely straight when assembling with cap nuts. This is where help from a friend can go a long way!
For more information on how to easily install axles and cap nuts, see this video:
You can find more assembly videos, along with other product and how-to videos, on the Step2 YouTube channel.
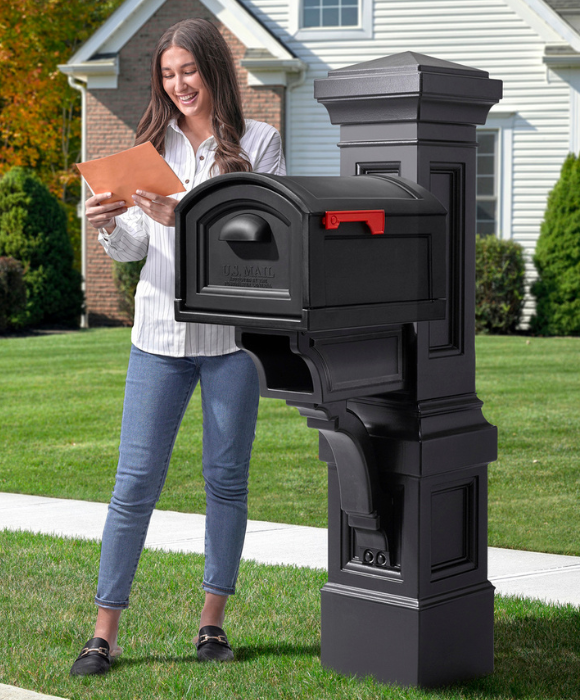
Mailbox Assembly Tips
The recommended post size is 4x4. The post should be submerged 2 feet into the ground and stick up either 2 feet or 3 feet above ground depending on the model of your Step2 mailbox. Refer to your Step2 instruction sheet for additional directions.
Please contact the US Postal Service for the required distance from the road.
It is not necessary to cement your mailbox post into the ground. Per United States Postal Service -STD 7C, the USPS does not recommend nor suggest cementing your mailbox post.
It is not necessary to pretreat your wooden mailbox post; however, it is recommended to purchase a treated 4x4 post, which will last longer in inclement weather conditions compared to an untreated post.
Ride-On & Wagon Assembly Tips
How-To Video: Install the front wagon wireform for any wagon size:
How-To Video: Install the front wireform and wheel on the Side by Side SUV:
Need Additional Assistance?
If you can’t find your answers within the Tips, please reach out and we will do what we can to help!


